Building a HomeCloud
Posted | Reading time: 7 minutes and 23 seconds.
The horrible truth of a family of four with an ever increasing amount of mobile devices is that we take too many pictures and videos. “Filter them”, you might say. But unfortunately, filtering is not always an option if your 6 year old daughter stole your mobile for 30min and managed to defy the laws of physics and film 90min of video. Having a Nikon capable of producing 4k Video does not help. Amazon drive used to be our friend, providing unlimited storage, but that has changed - non-picture storage is limited to 5GB, we have a collection of 1.2TB. A 3TB Storage plan (to be future safe) comes for 300EUR/Year, a little more then I would have hoped for. Also I never felt totally fine putting pictures of my kids onto someone else machine anyways. More so, at that same costs I might be able to create my own storage solution. Let’s see how far we can go with the same amount of money if we want to build that ourselves.
The basics
There are some things you might want to consider setting up your HomeCloud. Your data should be stored safely, and if you hard disk crashes you don’t want to loose all your data. The server will be running all the time, power consumption is something to consider. Also you might want to think about whether or not you expose the cloud to the internet.
For data safety, a common approach is to use a soo called Redundant Array of Independent Disks, or RAID for short. If you manage to combine multiple disks, there are numerous ways to benefit from that based on your desired outcome. If you want capacity for instance, you can combine them in such a way that the storage of both is added. If you aim for performance you can set them up in such a way that writes and reads are distributed between the disks. And if you aim for reliability you can mirror all data to every drive. This is our approach.
                                       +------------+ +-------+
                                       |            | |       |
                                   +--->  Disk 1    | | Video |
+-------+                          |   |            | |       |
|       |       +--------------+   |   +------------+ +-------+
|       |       |              |   |
| Video |       |     RAID     |   |
| File  +------->  Controller  +---+
|       |       |              |   |   +------------+ +-------+
|       |       +--------------+   |   |            | |       |
+-------+                          +--->  Disk 2    | | Video |
                                       |            | |       |
                                       +------------+ +-------+
A video file that is written will be stored on both drives
If one of the drives crashes, the data will still be available. The corrupt drive can be removed, and exchanged with a new one. The RAID controller will automatically make sure that the new one gets all the data the old one has.
To make sure we limit power consumption to a sane level we have to rule out any desktop or server. Traditional storage system have quiet a hunger for power, modern NAS Systems are way better at this already. Unfortunately, a thing I’ve noticed is that for a lot of systems sleeping is almost never active nowadays. Reason seems to be that the mobile applications on your phones try to connect to regularly, keeping it in idle state. In idle state, most NAS systems take up 30-40W, which will sum up to 70-80EUR in a year. We probably would prefer to use a device that is at a for less of this when idling.
For my setup, connecting the device to the internet is not an option. Our home network is setup in such a way where the router, which is connected to the internet, is connected only to a second router, which will then be connected to the devices on the network. Only specific devices are allowed to connect to the internet, and creating a rule to allow my HomeCloud to be directly accessible from the internet would limit the effectiveness of this setup.
The Pieces
For the RAID I decided to get a USB-Raid. USB3 is fast enough for my purposes, and the Device I chose, the IB-RD2253-U31 RAID from ICY BOX is available starting at 44EUR on Amazon. It takes up 7W, unfortunately more or less all the time. You can connect two hard-drives, and using the switches you can
For the server, I decided to get an ODROID XU4. It’s a fast micro-controller board, comparable to the Raspberry PI and a little quicker. If idling it takes up around 3W, so in total my power consumption is at 10W, with higher consumption during reads and writes I expect the total extra to be at around 30EUR for one year.
For the ODROID you need to get a power cable and a storage for the operating system (an 32GB SSD), I also bought myself a case.
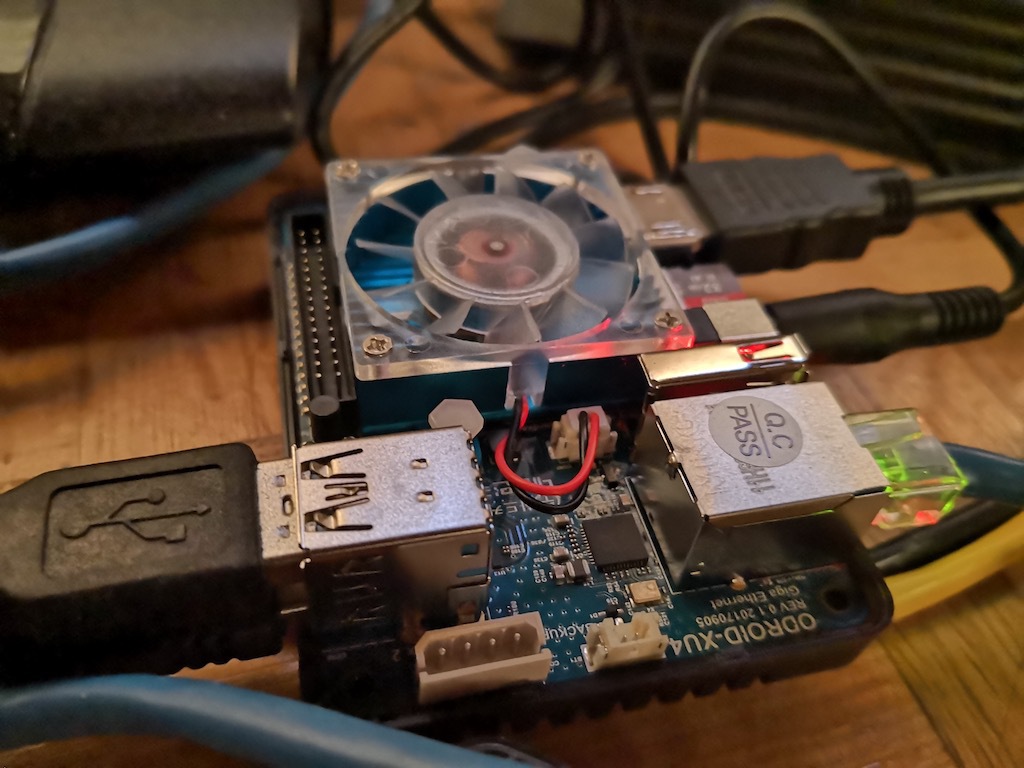
The Drives are Seagate ST3000DM008 Barracuda 3 TB, which was able to get at 79EUR each.
Putting it all together:
| What | How much |
|---|---|
| USB Raid | 44,00 |
| 3TB HDD * 2 | 160,00 |
| ODroid XU4 | 80,00 |
| Power Cable | 9,00 |
| Case | 8,00 |
| 32GB SSD | 9,00 |
| TOTAL | 310,00 |
Adding the 30EUR Power I will end up with 340EUR to 350EUR for the first year, a total 370EUR to 380EUR in the second. The Seagate comes with 2 years guarantee, if one of them crashes in the first year I would get an replacement. Overall I expect total costs of 190EUR per year for the first two years. Every year after that reduces the total costs. Thats in the worst case (have it running for two years only) a saving of 220EUR compared to the 300EUR per year for the same capacity at Amazon Drive. Sounds feasible.
Let’s see if it can live up to the challenge.
Software
For the Software I decided to go with NextCloud. NextCloud is a Service that can be compared to DropBox, and there are mobile apps for Android and iOS. Also, a project called NextCloudPi is creating ready-to-use images to Raspberry and ODROID. Get the image for your device, and put it onto the SD card via your computer, i.e. by using etcher.
Setting it up
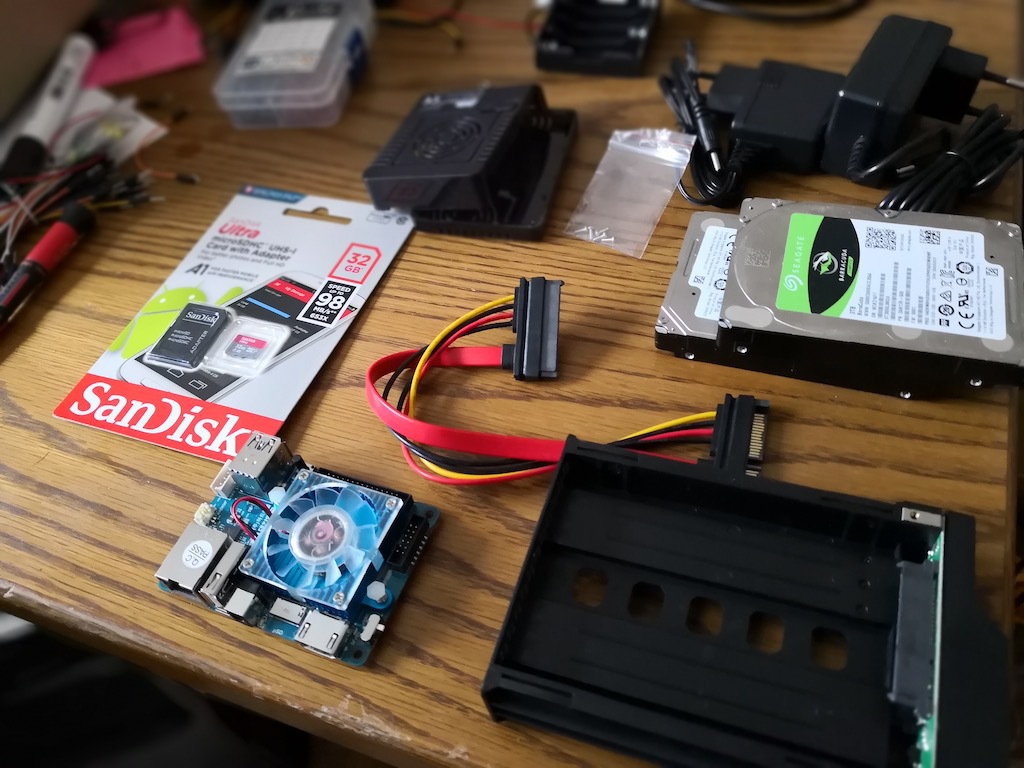
Stitching the pieces together is pretty straightforward. Note that the ODROID comes with USB2 and USB3. You might want to connect the IcyBox via USB3 for best performance - the blue ones. The ODROID comes with a Gigabit LAN, which you probably want to use. Note however that the ODROID will only be able to provide 150MBit over USB3. If you have only 100MBit this will be the limit, for most cases (upload from mobile device) the limitation will be the WiFi connection of your mobile devices.
Put in the SD Card with NextCloud you prepared previously, and connect the ODROID to your Router.
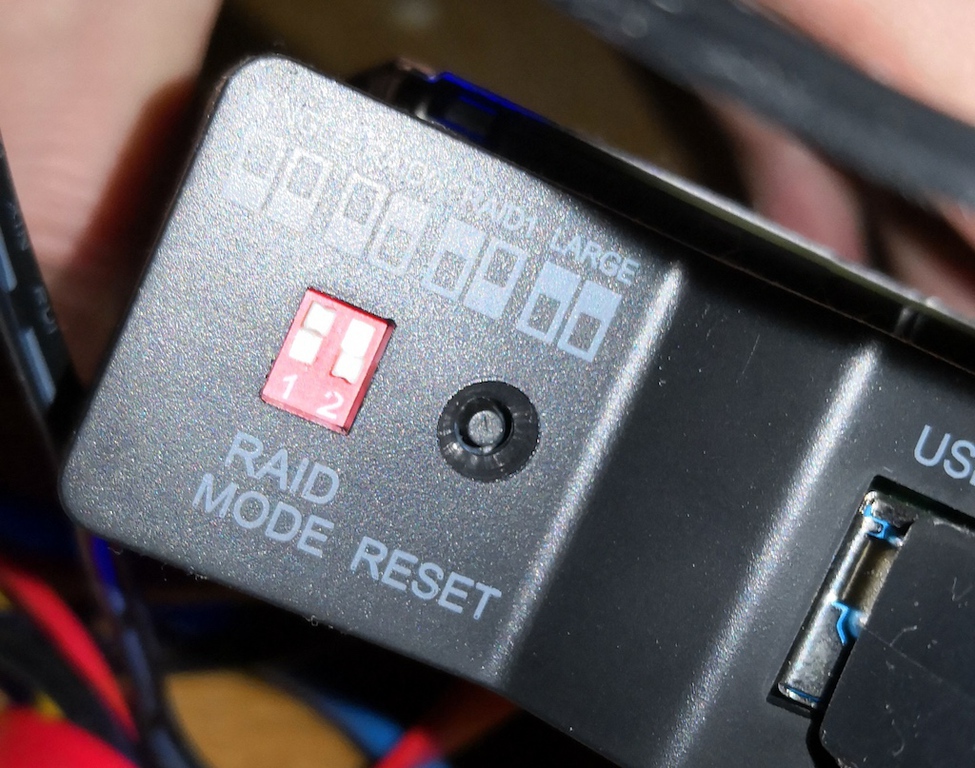 The initial settings are single, change them to your preferred settings
Before the IcyBox can be used make sure you have the settings specified you want, RAID 1 in my example. Connect it to power, then hold the RESET Button for 5 seconds for the changes to be applied. Note that your disks will have to be formatted, and all data on it will be lost. The same goes for later changes. You will not have to format it right now, we will do this as part of the NextCloud setup.
Connect the IcyBox to your ODROID, and the ODROID to the network. Power it all on.
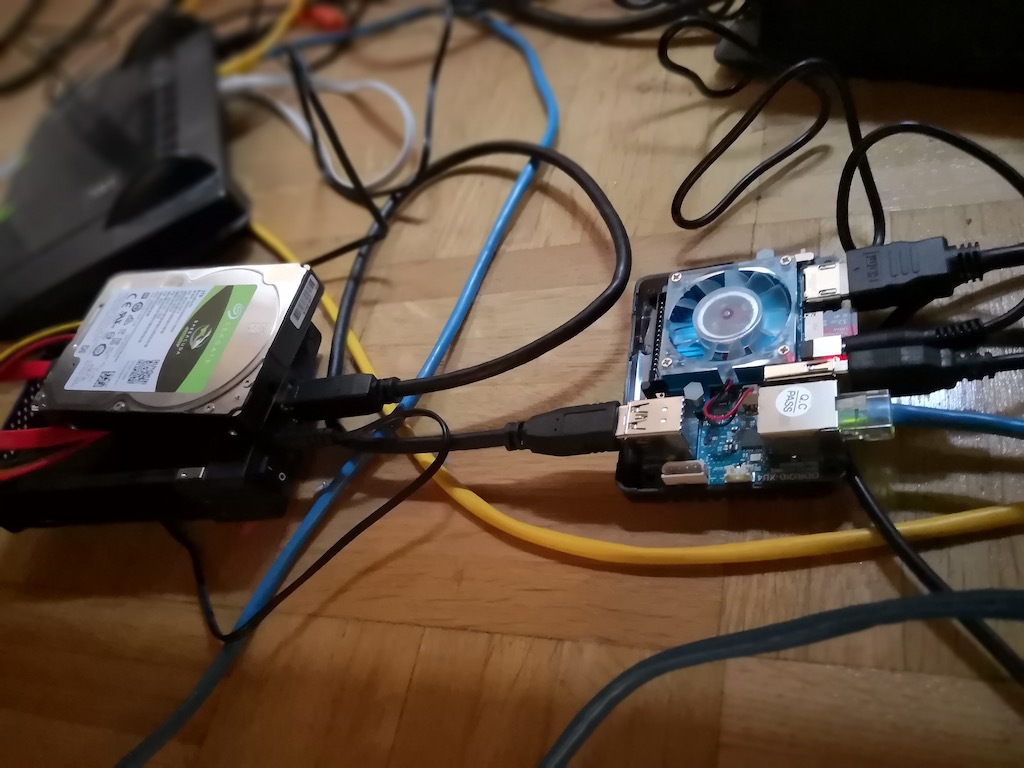 Everything is connected. Note that you probably want to close the cases
After some seconds, the ODROID will be connected to your network. You can get the ip from the ODROID either by using nmap or checking on your router.
Open the IP in the browser, and NextCloudPi will help you setting everything up. Note that you do want to format the USB Drive when it asks you.
Note that the default user is called ncp. You can keep this user as admin, but you probably want to create users with more speaking names. Do this after you have your NextCloud is set up.

Connecting your mobile devices
To connect your mobile devices, you can create an App Password. That allows you to revoke access if you loose or change your mobile phone. You can find it under security:
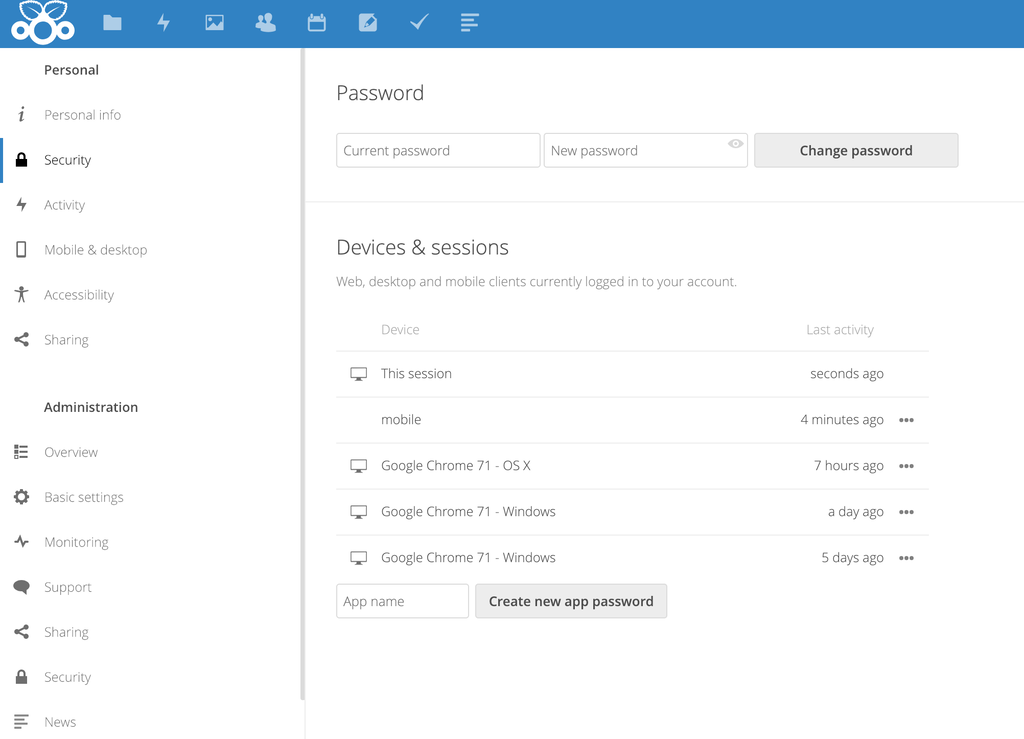
Now we have the HomeCloud up and running, next we want to use it to have our pictures and videos automatically uploaded. Install the NextCloud App for Android or iOS, and follow the setup instructions. Note that you will have to use the IP address to connect still.
Future considerations
There are some things I left out for now, this article is long enough as it is. A few things you might want to add I want to point out though.
Static IP Address for the Homeserver
This is not really optional. As you are referring to your Server by IP, you have to make sure this IP is static. Depending on your setup, configure this in your router or on your Server directly.
Nameserver
My Setup does not use IP addresses, but there is a raspberry in my home network acting as a nameserver. This allows me to refer to the host nextcloud.local instead of passing in the IP address, and in general helps a lot organizing your home network as it grows in size.
Certificate
Your browser and your devices will complain about the https certificate. The reason is it is self-signed and not backed by a root ca. You can either install the certificate on all devices, or become your own root ca, install that and use it to create the certificates. This will also help you in a more sophisticated local network (read: with IoT) were you probably need a couple of more certificates.