Improving a toy helicopter
Posted | Reading time: 1 minutes and 31 seconds.
Loud and blinking toys are my kids favorite toys, but unfortunately they can never blink enough. As a birthday present, my 5 year old got a new police set, with microphone, helicopter and a car.
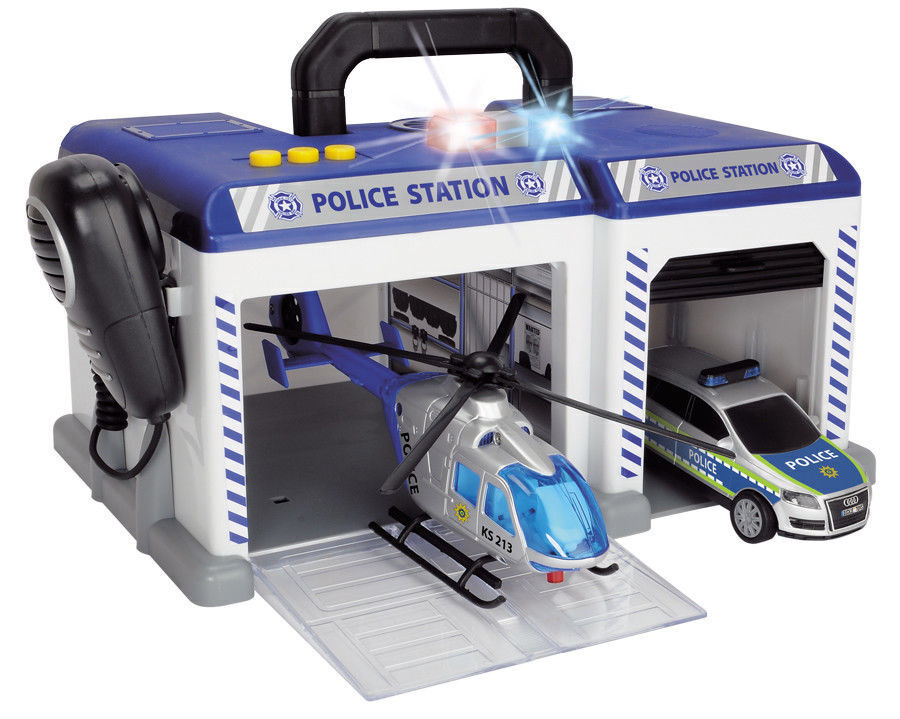 A police with almost everything a kid could wish for
He was super happy for about 2 min. Then he noticed the right light at the bottom of the helicopter, and asked how it could be switched on. It couldn’t. So he decided it was broken and he will fix it. I liked the spirit, and called out I would help him. Luckily for us both, if you have Arduinos at home you somehow never run short of LEDs, cables and buttons, and finally I could put them to better use then mere home automation or self-driving robots!
First we looked at the helicopter, and discussed how and where would want to add the button, the cables and the battery. The LED would replace the dummy, that we knew. This is what we came up with:
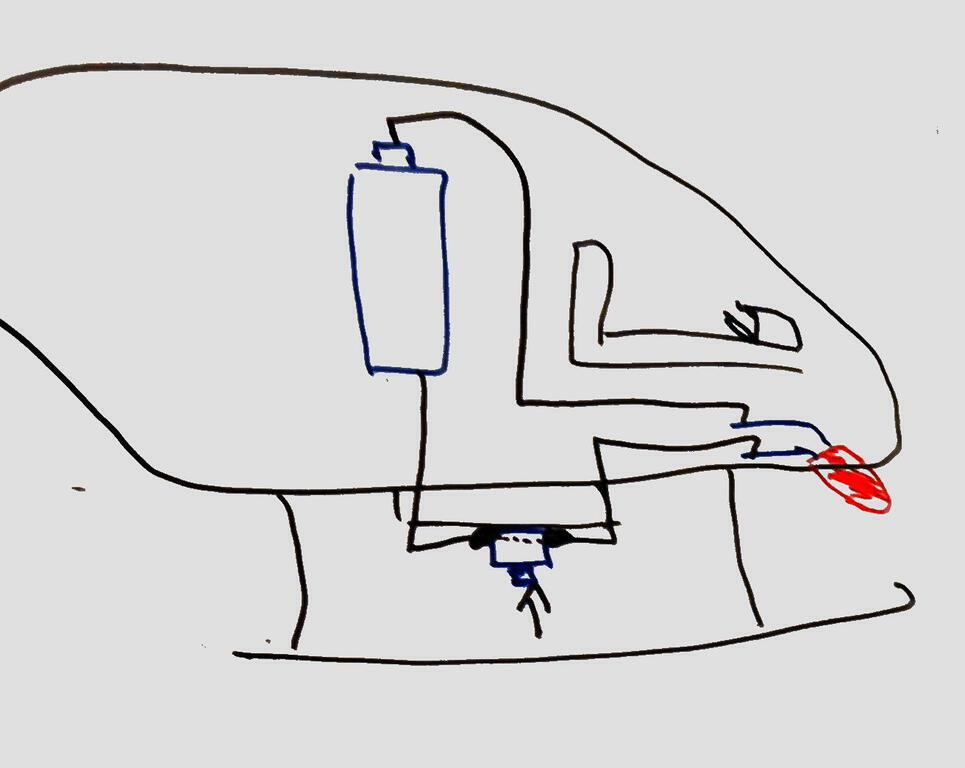
Luckily the helicopter itself was pretty extension-friendly for that matter. At the bottom it has two openings, perfect to fit through some cables. The dummy light had almost the same size as a standard LED, same as the opening. The only thing that was missing was a nice spot for the button, but there is nothing that could not be fixed with a hot glue gun.
First we opened up the helicopter removing the screws that kept it together
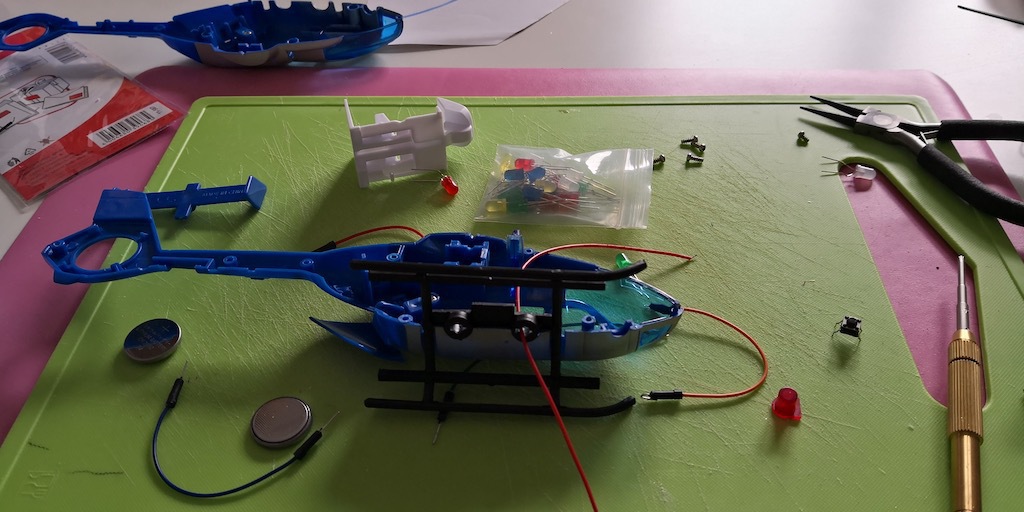 
The opened helicopter. Nice to see: The holes we plan to use for the cables

The opened helicopter. Nice to see: The holes we plan to use for the cables
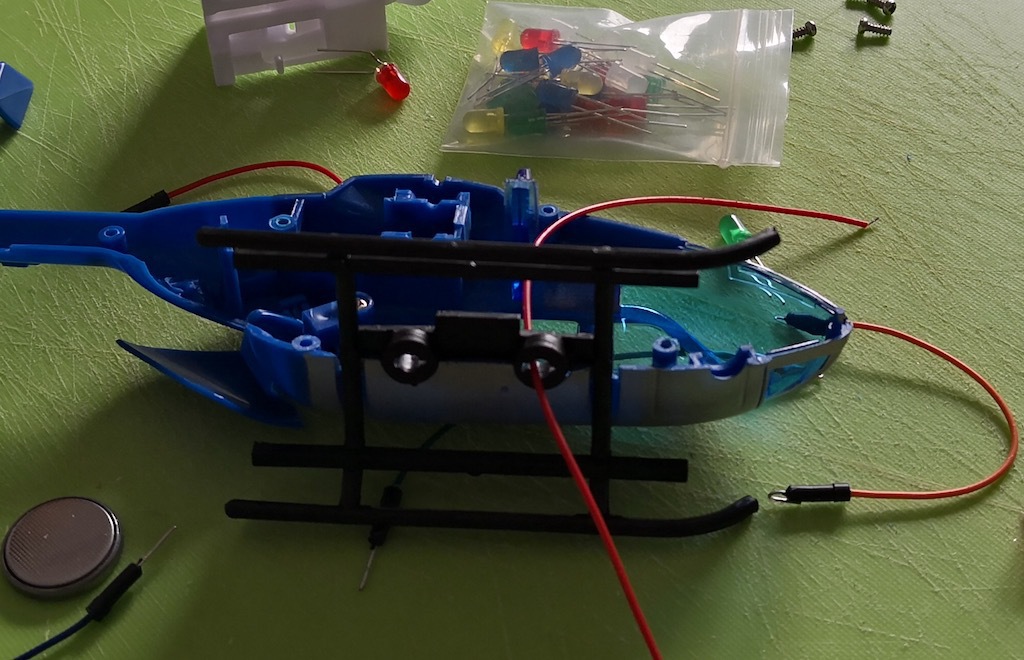
Wiring the things up is quickly done. Some soldering of the cables, the battery we wrapped in tape, and the led we fixed with the hot glue gun.
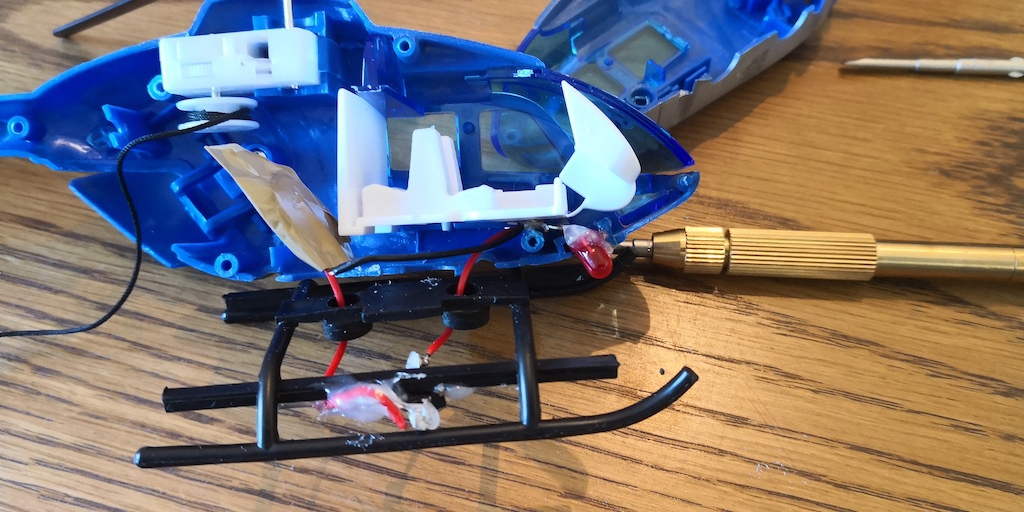 Connecting everything
After that we reassembled it, and used a lot of hot glue to attach the button, and voila:
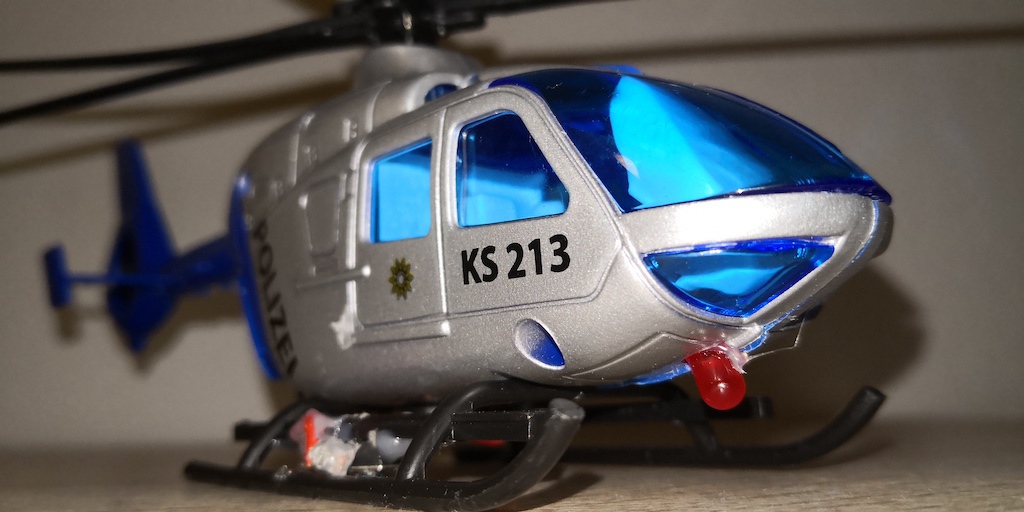
My 5 year old is happy, and we had some great time together “fixing” the toy.